Growing Garlic
The Process
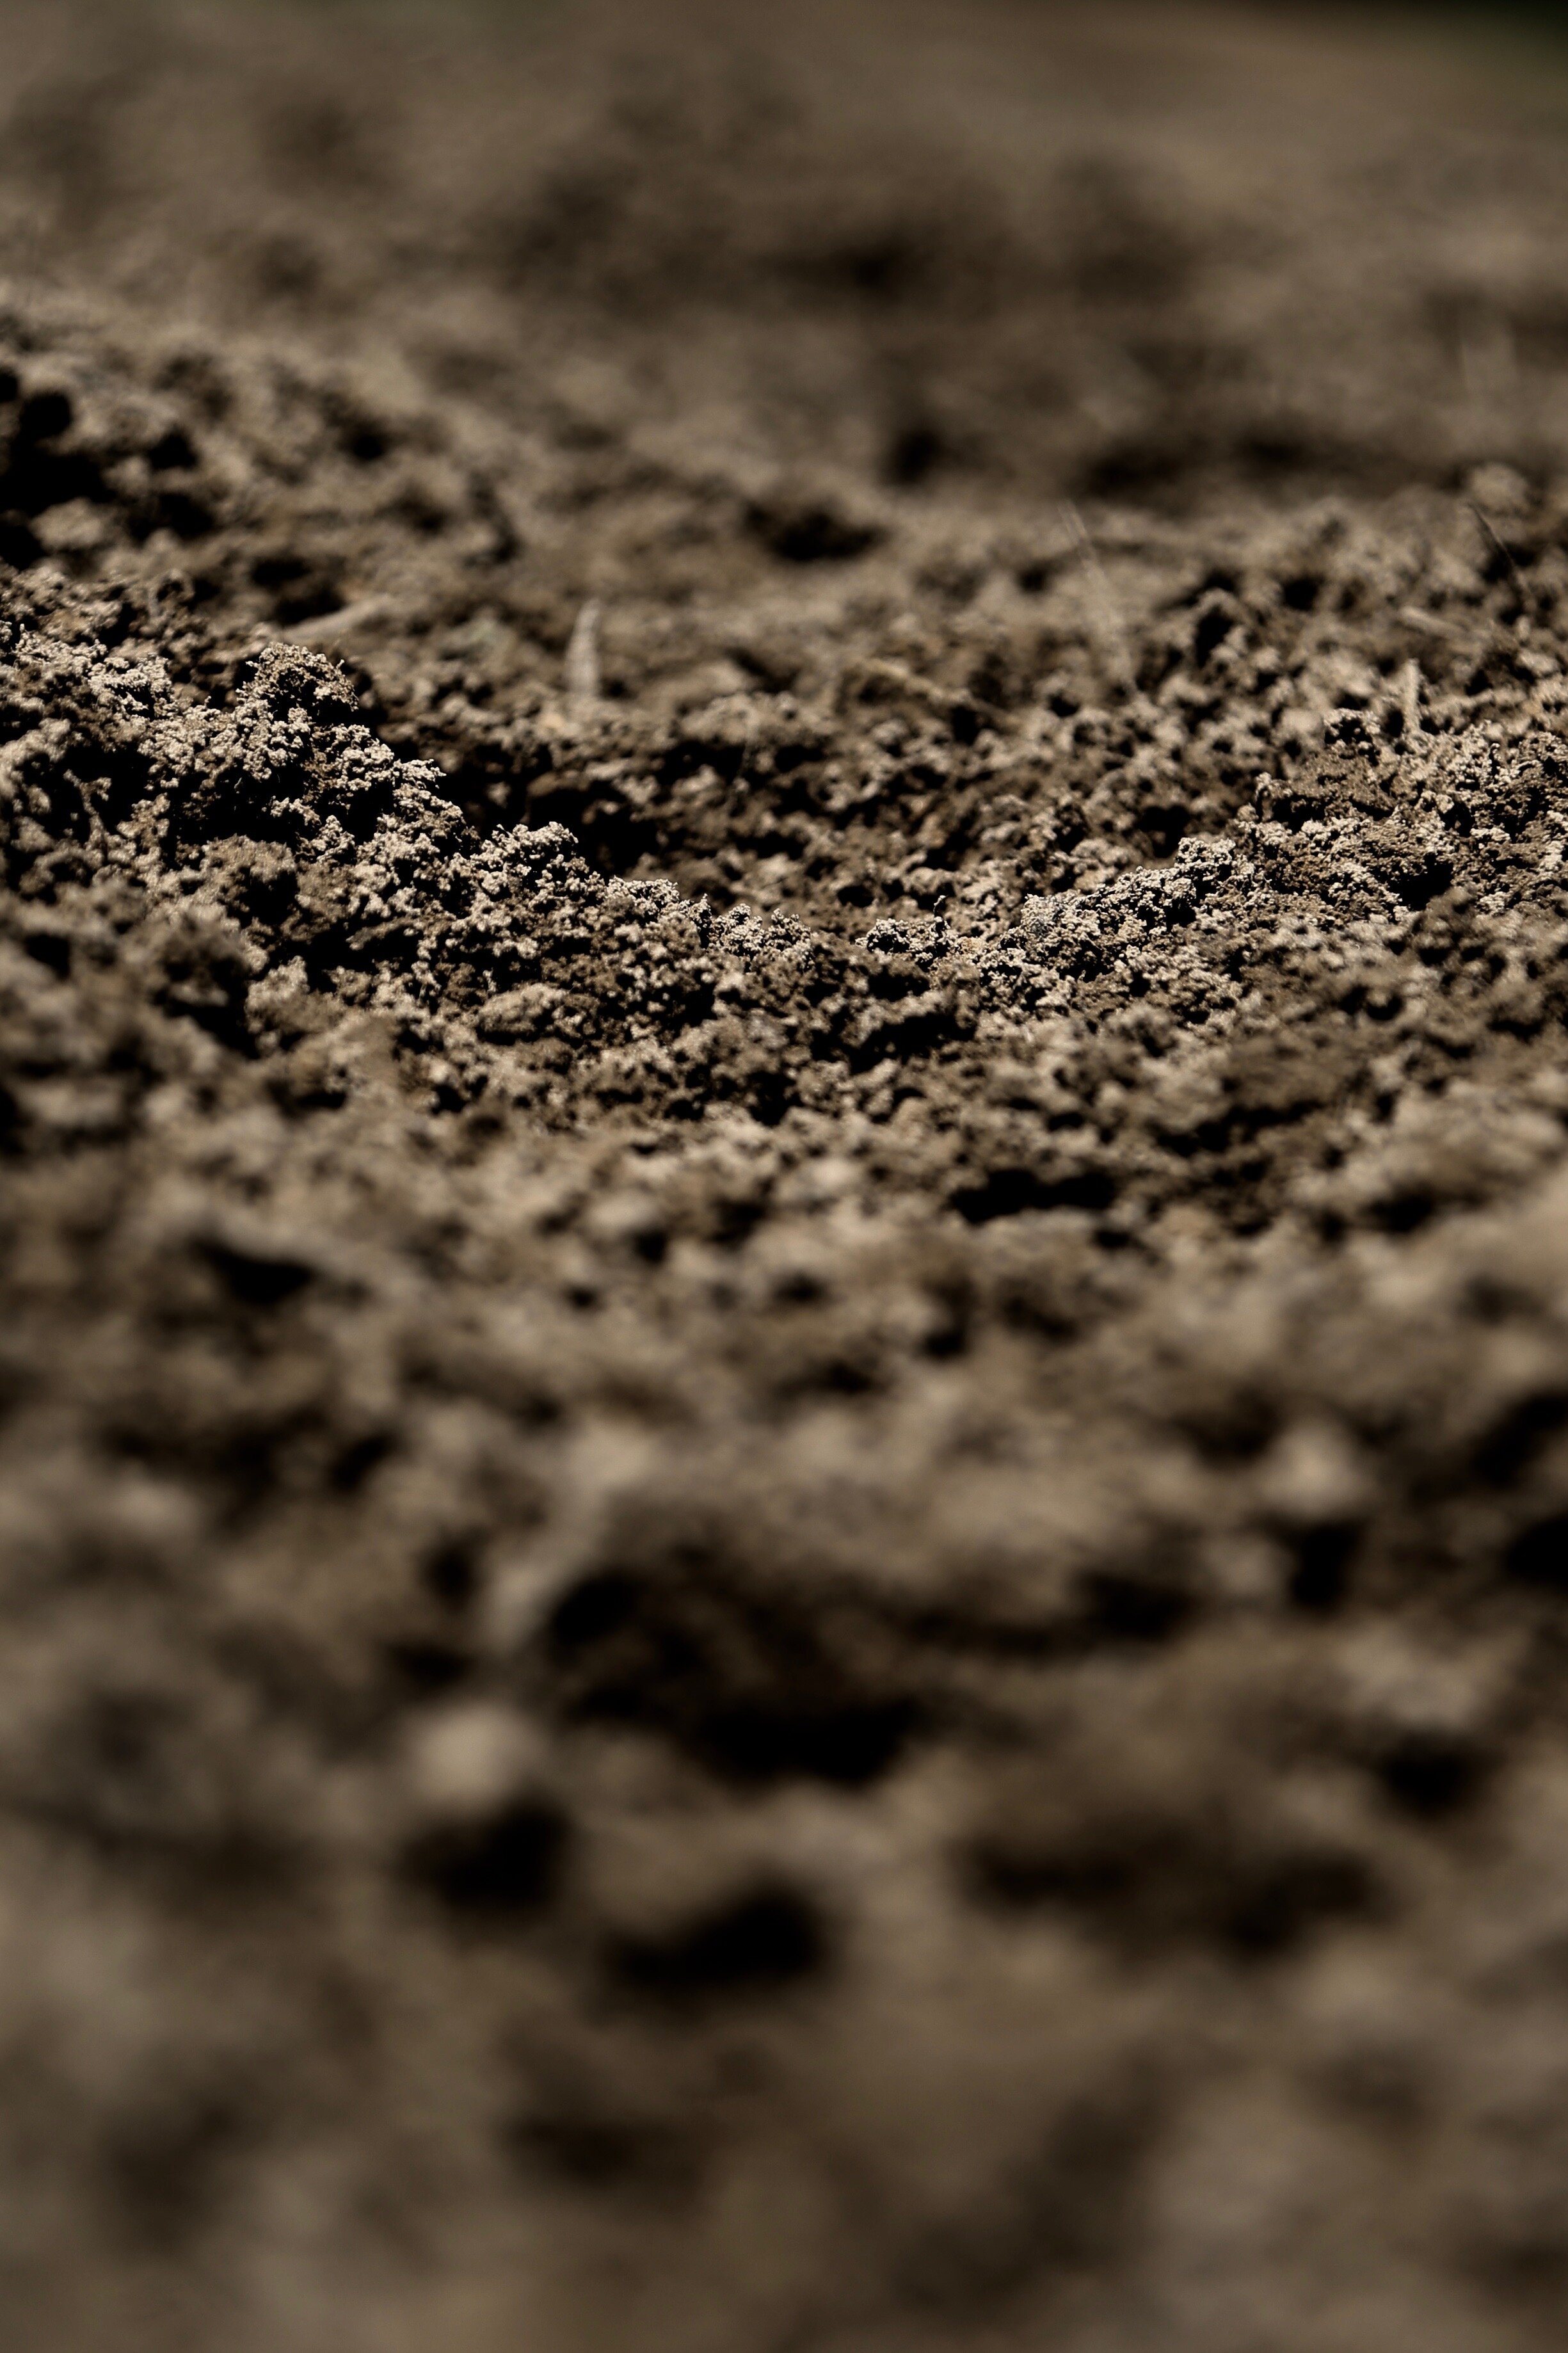
Know your soil
Determine your growing zone by looking at the USDA Plant Hardiness Map.
Depending on the zone, planting should take place in the fall from September through November or 6 weeks before the soil freezes.
Test your soil’s pH balance.
Ensure soil has good drainage, is well fertilized and fully exposed to sunlight.
Prepare your soil
Improve soil quality in the spring by adding fertilizer, composted manure, humus, compost or other products high in nitrogen.
Adjust pH balance to 6 or 7 by using agricultural limestone (not hydrated lime) or wood ashes,
Keep it healthy
Mulch your garden.
Weed often!
Fertilize every 3 to 4 weeks but not after the bulbs begin to swell.
Maintain well watered soil depending on your planting zone.
Planting time
Separate garlic bulb into cloves but do not peel.
Choose cloves that have the thinnest skin.
Plant with the large, root end down towards the soil and the tip facing the sky.
Plant an an inch deep or more depending on you planting zone.
Plant with 6-8 inches between cloves.
Cover with soil.
Things to avoid
Planting too early
Planting upside down
Planting too close together
Planting too shallow
Harvesting
When the bottom leaves of the garlic start to yellow or brown, your garlic should be ready. The browning of leaves indicate that the cloves are beginning to separate from each other, thereby losing some of the protective skin covering unique to garlic.
As the protective covering begins to fall, the garlic rises.
Use a garden fork to help loosen the soil around the garlic bulb.
Shake off excess soil.
Once garlic is unearthed, it should be moved out of direct sunlight.
Do not wash bulbs.
Life after harvesting Curing
Curing
Dry or cure before storing.
During drying process, leave bulbs and stalk attached.
Using twine yarn, etc, tie 8-10 stalks together, hang them in a cool and dry place. You can also lay them flat on a screen.
Check to see if hard-neck varieties are getting soft.
Cure the bulbs for 3-4 weeks out of sunlight. You can also use a mesh back to cure garlic.
Soft-neck garlic can be stored for 6-8 months. Hard-neck varieties can be stored for 3-4 months..
Freezing
Peel Garlic
Chop or leave cloves whole
Freeze in a freezer wrap OR
Blend with oil and freeze in small quantities (such as in ice cube trays).
Drying
Separate cloves
Peel cloves
Cut lengthwise
Dry at 140 degrees F. for 2 hours and then 130 degrees F. until dry and crisp.


